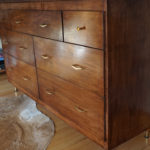
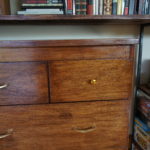
As I mentioned in my previous post, the rote is often impetus for making questionable decisions. What I didn’t mention is that there are often other factors, considerations and quirks of character that set firm my course down a path I am certain leads nowhere particularly fulfilling.
One of those quirks of personality is my tendency for conflict aversion. This combined with an over-inflated desire to be noble, do the “right” thing and not let people down, found me standing on the side of the road with my long-suffering better half, pondering how we would manage to transport a dresser too large in a car too small, over a distance too far.
Having responded to an ad for a dresser, one whose pictures seemed to indicate would be an easy and satisfying refinish project, we arrived to find something that was not at all what I expected. And yet, that strange collection of character quirks I’ve cobbled together in lieu of a conscience wouldn’t allow me to leave empty-handed.
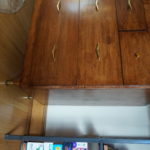
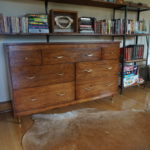
And so, we became the bemused new owners of what can only be described as the “Indestructible Dresser”.
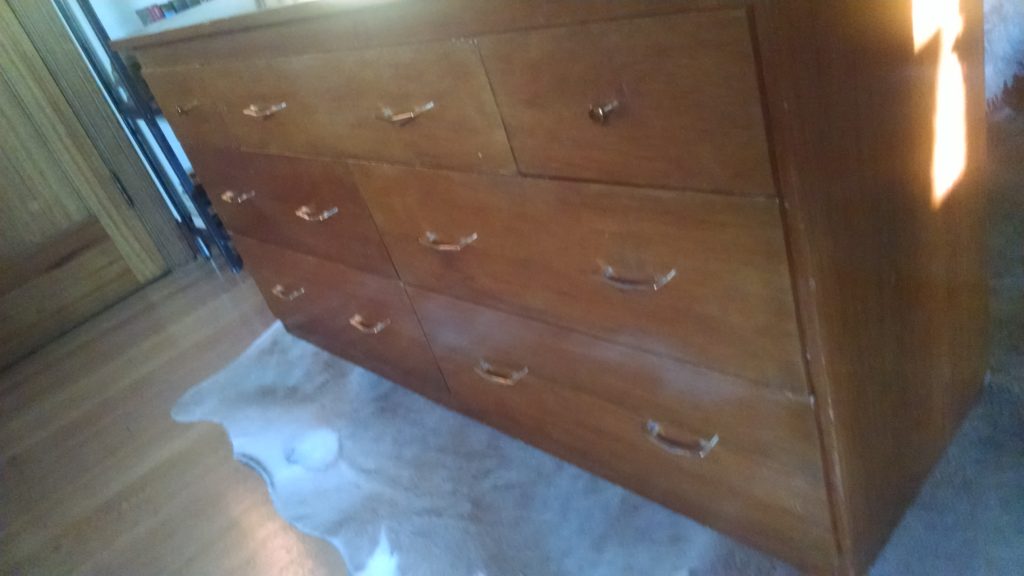
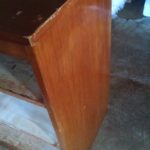
This homemade behemoth was designed so that it could be inherited in a glowing, post-apocalyptic wasteland by the surviving cockroaches of our nuclear armageddon future. I can think of no other reason for a common piece of furniture to be so heavy and so ungainly and so solidly built.
Whereas a normal dresser would be relatively hollow on the inside, save for the rails upon which the dressers slide, this dresser was constructed with interior walls of solid, 3/4″ wood, into which slide the drawers.
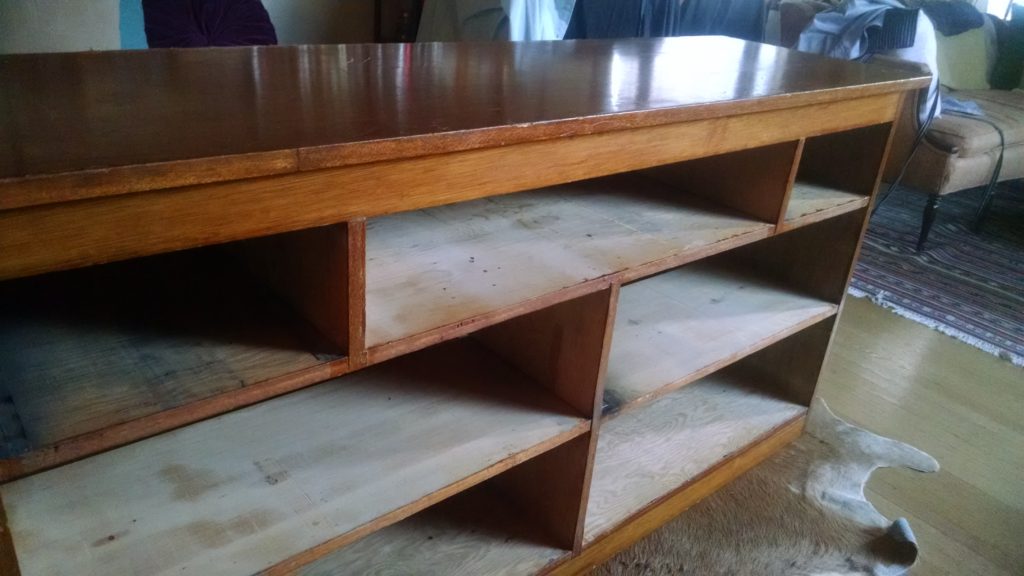
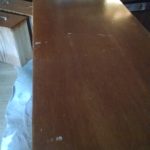
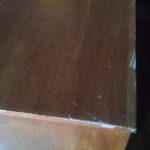
While the dresser had a vaguely mid-century look, there were certain design elements, construction flaws and age-related imperfections that I wanted to correct. My first task was to do something about the top of the dresser. It was constructed out of 3/4″ thick particle board that had taken a pretty thorough beating around the edges. It also overhung the base by about about an inch on each side and two inches on the front. I wasn’t terribly fond of this look, so I decided that the best course of action would be to trim off the edges that were most destroyed.
This would have been a tricky task had the top been made of real wood, or even plywood. I was lucky that it was made of particle board, because I don’t have a power saw big enough to handle cutting wood like this. Instead, I was able to score the wood using a knife and straight edge, then using a dual-action sander, I sanded the wood down to the size I wanted. I also decided to replace the veneer on top and add some new edging veneer to hide the profile of the particle board.
While I had the top off, I decided to address what I thought was an issue of the lintel sagging in one area. It turned out that one of the interior vertical walls was about half an inch too tall. Rather than fix this during construction, it was left too tall and someone had merely pushed the sides of the top down when screwing it in place, causing it to bow slightly upward; and leave a gap between the top and the lintel.
Without disassembling the entire dresser, I was forced to find a way to level this out. The interior walls bafflingly being the only real wood in the entire dresser, and my lack of a real power saw, forced me to take some interesting measures. Using a crosscut hand saw, I notched the wood down to the correct level, then used a combination of chiseling and sanding with a Dremel to get the wall down to the correct height.
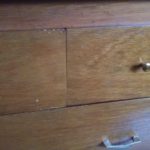
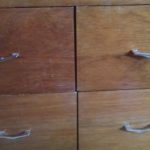
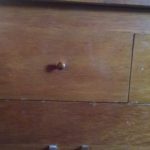
The next task involved the drawers. They were built so that the face of the drawer was several inches larger than the drawer itself. It appears that they were originally designed to fit together seamlessly so that the face of the dresser was flat. Either the execution was lacking or time rendered the concept moot and we had a dresser with what looked like disparately-sized drawers that did not align with one another, or the dresser as a whole.
Even easier than the top, the fronts of the drawers were made with veneered MDF (medium density fiberboard). With these, I simply had to measure and strike lines along the inside of the panels, and then using a rasp and some sandpaper, remove what I wanted from the edges.
Once this was finished, I touched up the inside edges with some new veneer edging. Then, everything was sanded, stained and clear-coated to breathe new life into an old colossus.
All-in-all, this project proved to be way more than I wanted to take on and as such, I have stopped considering such large pieces of furniture for projects. Being homemade, it was rife with quirks that you would never find in manufactured furniture, and that ultimately made it worth something when it was time to get rid of it, but I would never revisit a project like this again.*
Supplies
- Varathane Early American wood stain
- Minwax Clear Semi-Gloss polyurethane
- Plain sliced red oak wood veneer
- Band-It red oak veneer edging
- Lots of sandpaper

