I’ve been coming to terms with the changing seasons and pondering a bit on the symbolism of cherry blossoms, the ephemeral nature of life and the essence of renewal, but I think all of that should wait until I’m ready to post about the project I am currently engaged in completing.
In the meantime, I think I will dive into this one as I did the last: without pretentious introduction.
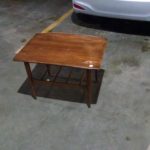
My acquisition of this table is a story of triumph that, like so many stories of success, involves a fair amount of uncomfortable behavior and a compromise of my personal ethics. While I will not go into details, I will say that I might have stalked a person around the Goodwill one morning, waiting to see if she would buy this table. As I watched her waffling over the decision, I approached and politely asked if she would let me know if she decided against the purchase.
Some might feel that this is a completely reasonable thing to do. I felt dirty, but not so dirty that I walked away from the offer when it was presented to me.
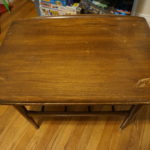
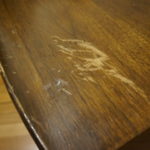
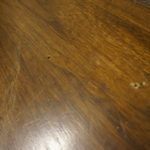
That being said, this little table was definitely in sad shape. The original finish was worn spotty in places, the top was gouged and scratched, the legs were wobbly and someone had drilled two holes through the top. Basically this table looked the way I feel on a Monday morning.
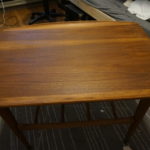
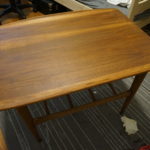
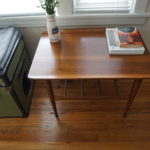
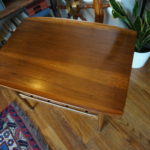
I like to call it the “Flock of Seagulls Table” because the top has these bizarre, up-swept sides that remind me of the iconic Flock of Seagulls hairstyle.
After two projects involving furniture that proved nearly impossible to strip, this was a charming relief. I started off with some chemical stripper to take off what remained of the original clear coat and then dragged it outside for what I have come to call “fun time with the sander” (and what my building mates have come to call “oh, christ, he’s at it again”).
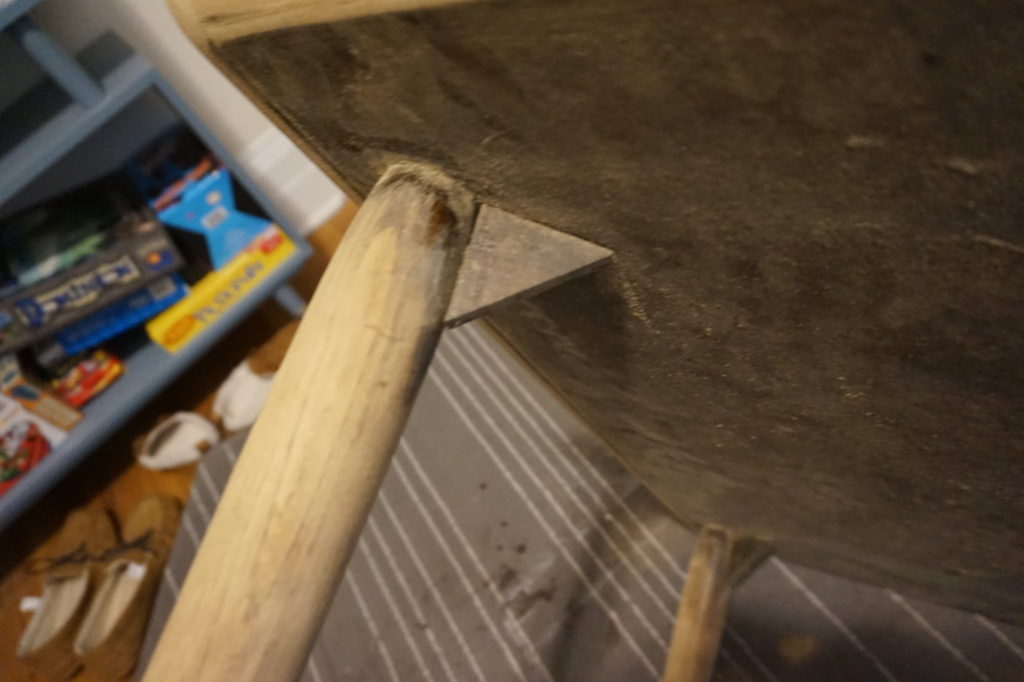
Once I had everything sanded down, I went to work tightening up the legs. The table was manufactured with these odd, little triangular braces which weren’t doing much of anything but making the piece look cheap. So, I removed those (saving them for an idea I have for another project) and carefully strengthened the joint between leg and table bottom with some wood glue.
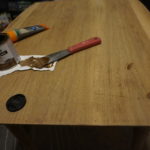
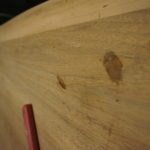
After the glue dried, I knew it was time to address the screw holes. I approached this with a certain amount of well-earned trepidation, as I have not had the greatest luck using wood filler in visible areas. But, I wanted to try a trick that I had heard about, so I got a relatively neutral (but not white) wood filler and mixed it with a little of the stain that I intended to use. It went on really dark, but once it dried and I sanded it down flat, it was nearly invisible (though I could still pick it out, knowing what to look for).
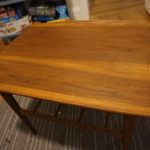
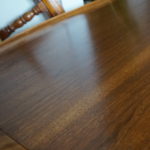
After that, there was nothing left but the staining…
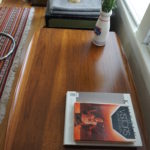
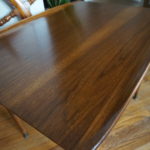
And clear-coating…
It’s been about 20 months since I tackled my first refinishing project and one thing that continues to amaze me is how such beautiful wood is hiding underneath tepid and boring mid-century finishes. While I find the lines and curves of the style thrilling, I am appalled at how readily manufacturers of the era buried natural beauty under a wash of homogeneity.
Supplies:
- Varathane Early American wood stain
- Minwax Clear Semi-Gloss polyurethane
- Elmer’s Wood Filler
- Kleen Strip Premium Stripper
- Lots of sandpaper
- Wood glue

